You don’t want to expose the raw edges of the fabric, but you also don’t want the seam bulks. Seam allowance and making darts are important but how much, that matters. It should not be too close then the chances of raw edges getting undone is high. But stitching at a wide distance can cause seam bulks. You will know here how to reduce bulk seams. Special stitching techniques are needed for some seam situations you may face.
Making Darts is as important as other things in sewing. Darts help to give a shape to any garment. Skirt, trouser or blouse has different types of darts because of different organ shapes. Darts make flat fabric in wearable garments. You will know how to make single and double-pointed darts.
Seams
Reducing Seam Bulk
Seam bulk can be reduced in three ways.
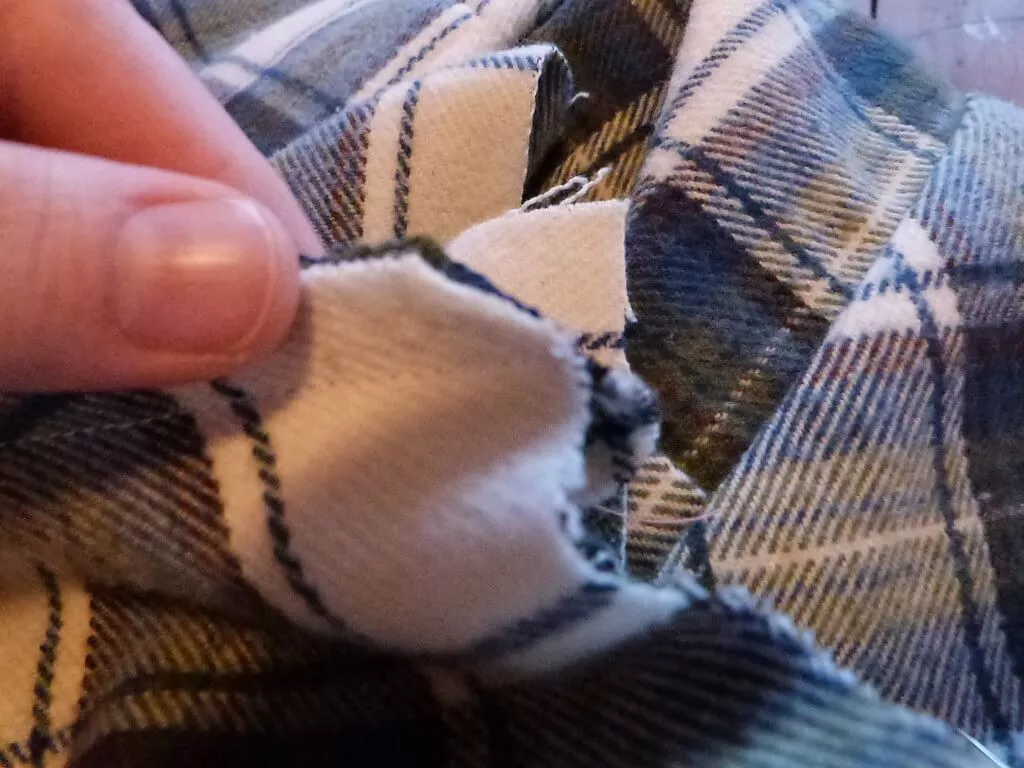
Trimming
A simple way to reduce bulk seams is by trimming the extra material. When extra fabric will come your way in the further making process, you need to specifically cut that extra material.
Clipping
Inward curves have little fabric for seam allowance. For that when they are pulled and pressed open the fabric does not stay that way. Clipping also called slashing is a slit or a cut made in the inwardly curved seams, so that fabric fits around the curve properly when pressed open.
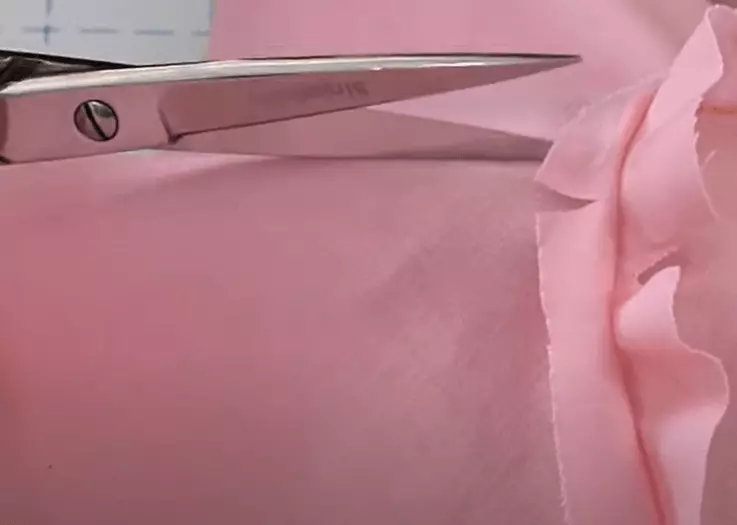
Make a perpendicular cut to the edge of the seam allowance by using the tip of a scissor. The cut should be about 2 mm away from the seam line, within the seam allowance. This helps to release the tension from the edge of the seam allowances. Remember that for sharper curves, cuts will be more frequent. If this is not done, the seam allowance tends to pull up and does not lie flat.
Notching
Outward curved have too much fabric in their Seam allowances. So when they are pressed open, this extra fabric forms ripples and folds and does not allow the seam to lie flat. For example, the curved fringe of a collar. Small V-shaped pieces of fabric that are cut from the seam allowances to reduce the amount of fabric are called Notches. It helps to get a flat edge when the seam is pressed open.
Stitching Techniques for Special Seam Situations
For some seam situations, mentioned below, you need different stitching techniques. Let’s see what are those.
Bias Seam
When stitching 2 bias edges, keep the fabric tight but it should not be stretched, so that the seam doesn’t crease. When joining a bias edge with a straight edge, stitch the bias side on top to prevent stretching and creases.
Curved Seam
For a smooth curved seam use the machine at low speed and reduce the stitch length. If both curves are in the same direction, slash or notch the seam allowance so that the fabric will lie flat.
But what do you do if one edge curve is inward and the other is outward? Keep the outward curve below the inward curve while sewing. Clip or slash the seam allowance of the inward curve. Pin the seams together matching the balance notches. Put pins horizontally and perpendicular to the seam line. Remove pins as you sew.
Corner Seam
To strengthen the corners, reduce the stitch length for a short distance on each side of the corner. Small stitch lengths (15-20 SPI) are used to strengthen a corner. This also prevents fraying after it is cut at the corner. If both materials have the same turn, use small stitches for 2.5 cm on either surface of the corner when you stitch the closure. If a corner is to be stitched to a straight edge, or a corner with a reverse angle, the inner corner or straight edge must be slashed at the corner point. Stitch just inside the seam line with support stitches for about 2.5 cm on either side of the point. Clip up to but not through the stitches.
Gathered Seam
While assigning a gathered fabric to a piece of flat fabric, the gathered fabric should be on top so that the bulks don’t get depressed and turn into tiny pleats.
Darts
◆ Our body both men and women have curves more or less. Darts help to turn a flat fabric into a three-dimensional one so that it would fit curves. A dart is cut out in a pattern to control the fit of a garment. In excellent garments, proper darts give a smooth contour. The purpose of a dart is to remove excess fabric where it is not required and deliberately release fabric where it is lacking.
◆ Darts are specific folds of fabric stitched to a point. Darts occur mostly at the bust, waist, and hips to amplify the curves. Darts can be extensive or thin depending on the area of the body. More extensive darts contribute more shaping and thinner darts contribute less shaping. The larger the body lump, the wider the dart. A basic dart may radiate from the point of the lump and end on any outer edge of the pattern. Darts always point towards the fullest lump of the body and end about 2.5 cm away from the topmost point of the body curve.
◆ Darts can be both functional and/or decorative. ● Functional darts help to fit the body curves, and Decorative darts beautify purposes and magnify the design.
◆ The two basic types of darts are (a) Single Point, (b) Double-Point.
Single Pointed Dart
A single point dart or plain dart is a triangular shape mark on the pattern, consisting of a centerfold line and two stitching lines.
- Dart legs: Two lines on each side of the centerline that forms an open space at the pattern’s edge.
- Intake/Width: The distance or space between these two lines at the base.
- Dart Point: The lines meet at a point which leads towards the fullest lump of the body like busts, hips. Here dart ends.
Steps
- Transfer the dart markings to the wrong side of the fabric with a tracing wheel.
- With right sides together, fold the fabric on the centerline of the dart matching the dart legs.
- Make sure that the dart point is strictly on the fold.
- Pin the dart in position, placing the pins across the stitching line at right angles to the stitching line, with pinheads towards the folded edge.
- Stitching direction is from the broader end of the dart to the dart point.
- At the broad end, reverse tacking can be used. But it should not be used at the dart point. Starting with back tack from the wide end of the dart, stitch the dart line tapering towards the point. Stitch the last 2-3 stitches parallel and as close to the fold line as possible. This will create a sharp point without any puckering.
- Do not back tack at the point. Because it may cause puckering at the dart point. Cut thread leaving approximately 7 cm at the ends to tie a knot at the point. Tie a knot with thread ends together.
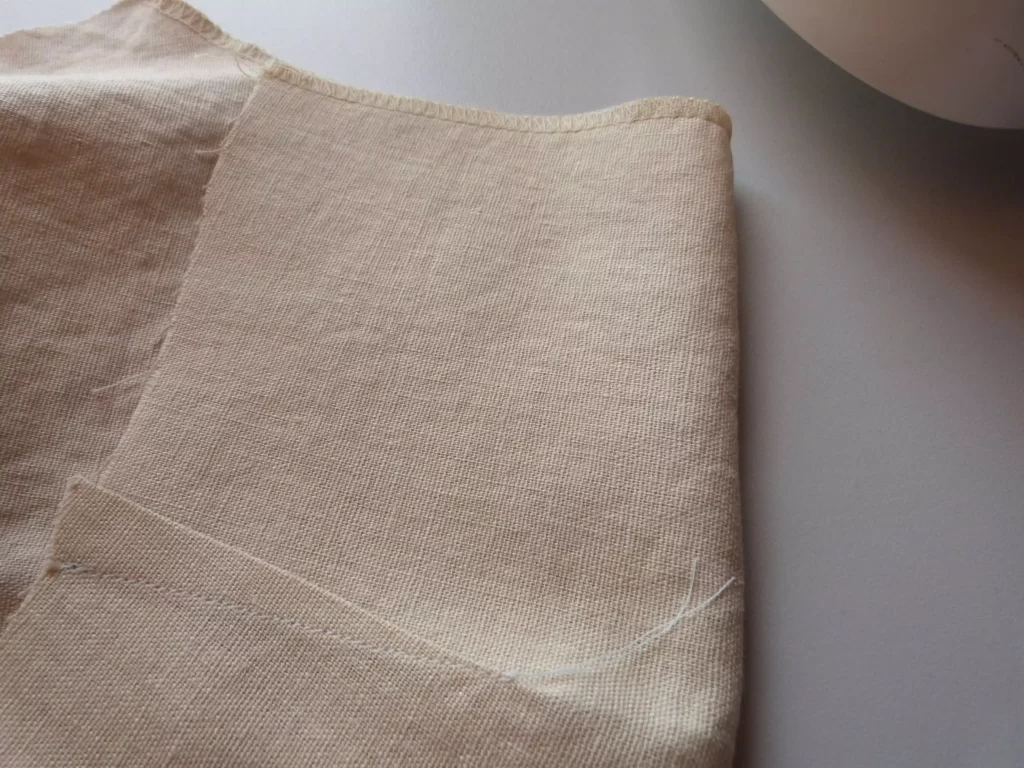
- Bulky darts are slashed through the centre. Then pressed open to distribute the bulk evenly on both sides. Slash the dart down the centre along the fold line till 2 cm from the point. Press the clipped edges open. Complete the raw edges by over-locking.
Double Pointed Dart
A double-ended dart is a long dart with two edges, also called a fish dart. A single dart that is longer and fits at the waistline and then narrows off in two opposite directions. It takes care of the fit of the lower garment as well as the upper bodice. It shapes the fabric at the waistline and narrows to a point at each end. In one-piece dresses, close-fitted shirts, jackets, etc which are still below the waistline, we use these darts. Since the waist is the narrowest part of the body, the broadest part of the dart happens at the waist. It takes the place of two separate waistline darts, one of them narrowing towards the bust at the top, and the other towards the hip at the bottom.
Steps
- Transfer the dart markings to the wrong side of the material. A tracing wheel is used for this motive.
- Spot the centre line and the stitching lines.
- With right sides fold the fabric on the centre line. It should match the dart legs.
- Make sure that the dart point lies accuratly on the fold.
- Pin the dart in position, setting the pins across the stitching line at right corners to it. Start from the centre and move to the spots.
- A fish dart is stitch starts each time at the centre and go towards the points.
- Instead of backtracking, overlap the stitches at the centre. For stitching the upper half, start 4-5 stitches below from the middle. Then continue stitching a narrowing line to the upper dart point. Leave excess threads at the end. Make a knot.
- At lower half start 4-5 stitches above from the middle.
- Then stitch to the lower dart point and tie a knot as explained above.
- At the broadest part, slash the fabric within the dart to set it smoothly over the waist and make it lie flat. Slashing is essential in this dart to relieve the tension at the waist, allowing the dart to lie smooth. Clip till close to the stitching line, but not through it.
- Press dart flat towards the middle of the garment.
◆ Pressing Dart
Press the dart flat towards one side. Press Perpendicular darts towards the side seam of the garment, press Parallel darts downwards, and press open Broad darts or heavy bulky darts.
That's all for today! I hope you liked it (❁´◡`❁)


