You will know about some general tips for pressing. This will help you to get the perfect look. There are some safety measurements you also need to follow. Let’s start!
Essential Pressing Tips
1. Prewash
Do not even think about washing the fabric after you finish your whole project. Don’t. You have to go through under pressing before even completing it. So any dart can stick to the garment if you start pressing it before washing. It’s best to wash your fabrics before cutting and sewing.
2. Pay attention to the Fabric
Set your iron heat and apply steam accordingly fabric type. Both can ruin your fabric and you don’t want that. This can help you to choose. Before pressing the test the temperature on a sample fabric to know the ultimate condition. Gradually increase the temperature. You may use a Teflon pressing sheet for pressing finer fabrics.
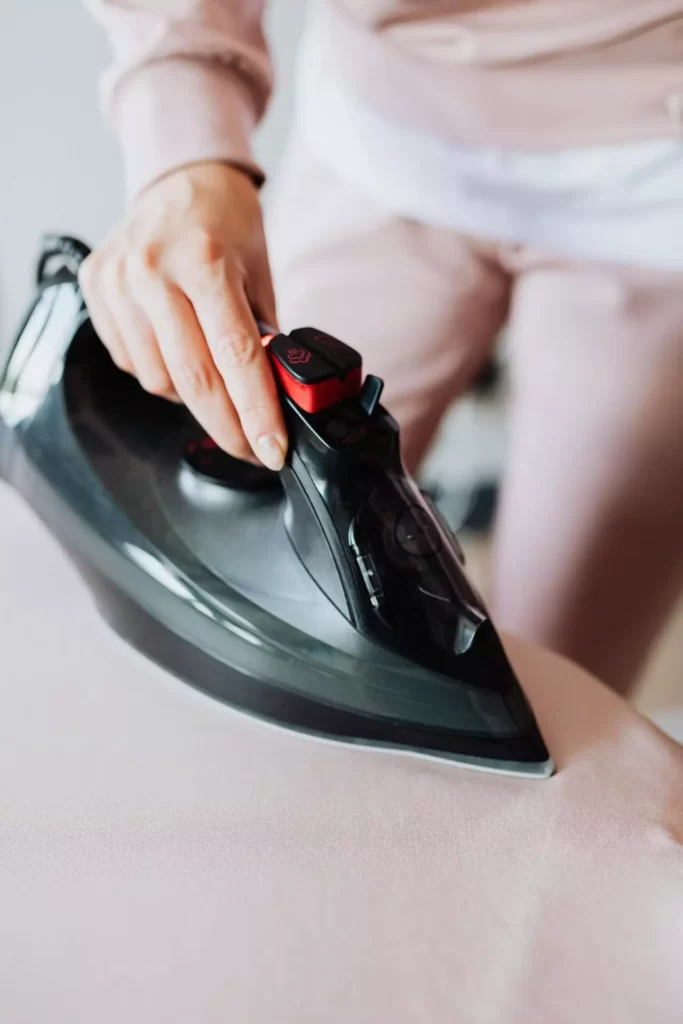
3. Steaming
To steam the material properly hold the iron at an inch distance from the fabric. Hold there to let the steam work. Be careful while steaming finer fabrics and silk. Overuse of stim can cause watermarks on the fabric. Remember, the moisture must be allowed to dry off before on to the next part otherwise the fabric may crease.
4. Press. Do not Iron
To prevent Stretching press the fabric. Press along the grain. Keep your iron box in good condition. Unclog steam holes if they are clogged.
5. Starch
For pressing the folds you may notice pressing is not enough. Fabric edges do not tend to keep folded. Use Starch solution with a brush to keep the fabric folded. You can use starch powder. But you also can use homemade boiled rice water for this purpose.
6. Remove pins
Never press over the pins. This can damage the iron. It can also leave marks on the fabric.
7. Pressing Techniques
Follow all the right pressing techniques to press seams, darts, collars, etc.
Enclosed seams should be first graded which means one seam allowance trimmed to half size of another. First press the open seams and then press to the side. For pressing darts you may use a seam roll or pressing cushion.
Do not hard press the hemline, avoid the stiff pressing line. Sometimes you don’t even need iron to press, use your finger to press hems.
8. Use Pressing Cloth
It is always good to have multiple pressing clothes. I never throw placing clothes until they became unuseful. I pleat them over another. Using pressing cloth prevents unwanted marking on clothes like shiny marks. Take any muslin cloth and use it as it is. Sometimes damped pressing cloth is good when you have heavy material. It helps to remove wrinkles easily. But if there is a firm wrinkle, use vinegar and water in a 1:1 ratio with a brush and then press it with iron. It shall disappear.
9. Use Steam
Do you remember, we do Press. Not Iron. So fill your iron with water, and use steam according to the fabric. Some say the more steam the better. I can’t agree that much, using steam is highly depends on the material. For that see THIS ARTICLE.
10 Press on the Wrong Side
That’s true. Not just I press on the wrong side, sometimes I fold my clothes inside out. For example white clothes, finer materials. Of course, you can’t do that because you are making clothes for customers and you need to fold them in the right way. But you can press the wrong sides while making the garment whenever it is possible. It reduces the chances of unwanted marks, scratches, or any kind of damage. But before that know the fabric type. For example fur, velvet-like material cannot be touched with iron directly on their right side.
Here is the list of the fabrics you must press on the wrong side:
- Embroided fabrics.
- Dark Colored fabric.
- Fur, Velvet.
Basic Pressing Safety Precaution
- Hold hot Iron by its handle. Keep your hands and face away from the steam.
- Keep the cord tangle-free. Unplug the iron after use. Keep the soleplate clean.
- Remove any substances that stick to the iron by rubbing back and forth over a clean cloth.
That's all for today! I hope you liked it (❁´◡`❁)


